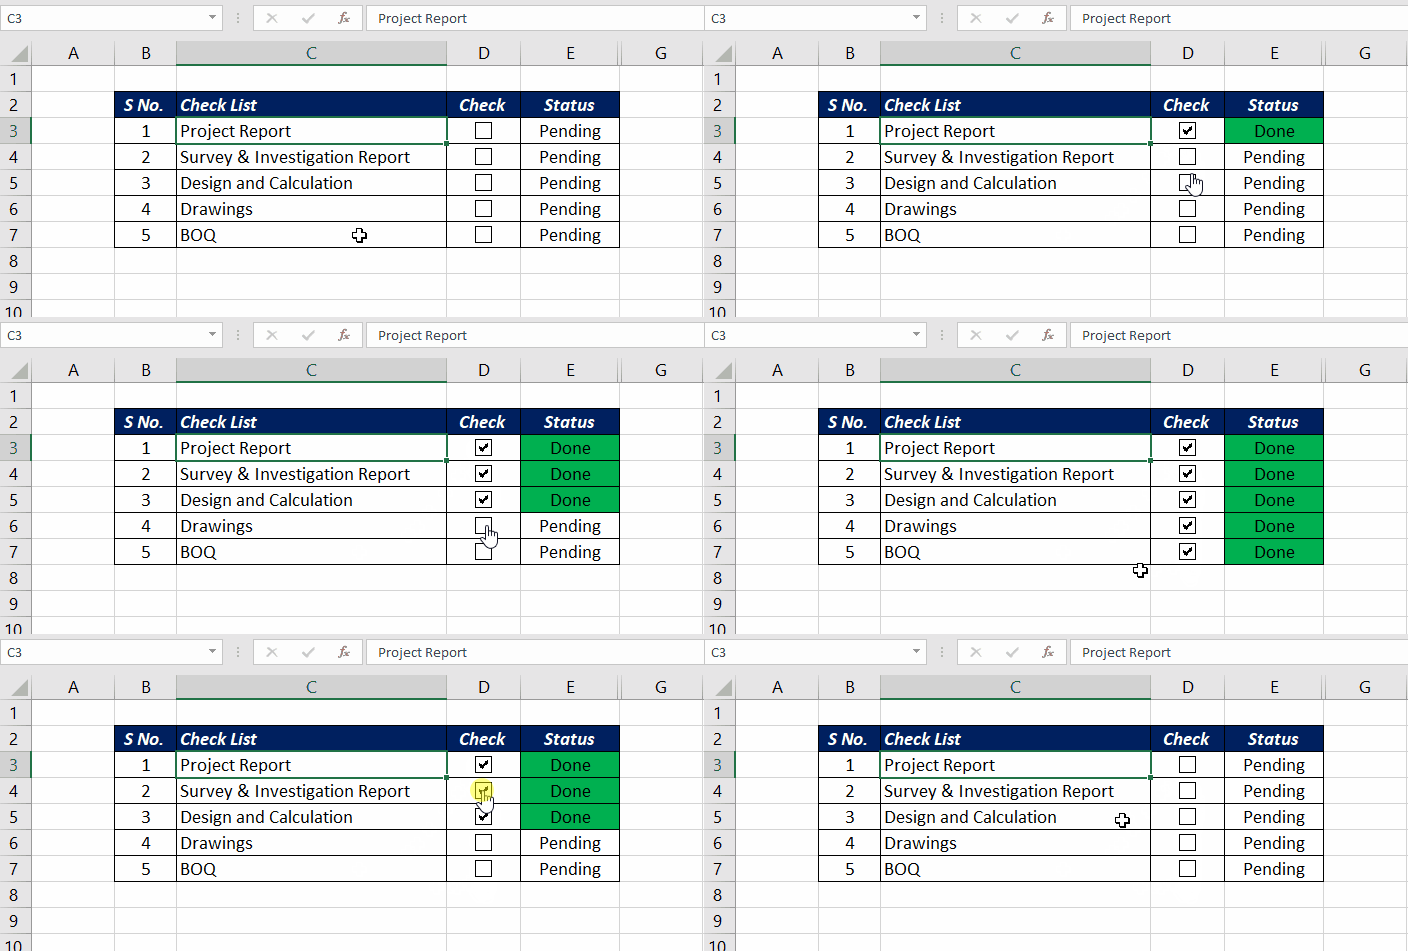
In current Microsoft 365, Insert → Checkbox puts a real tick box inside a cell, and the cell’s value is simply TRUE or FALSE. In older versions, use the Form Control checkbox from the Developer tab.
Method 1: In-cell checkbox (Microsoft 365)
- Select the cells, for example D3:D7.
- Go to Insert → Checkbox.
- Click a box, or select it and press Space, to tick it.
Each cell now holds TRUE or FALSE, so formulas can use it directly. The boxes copy, sort and filter like normal cells. To remove them, select the cells and press Delete twice.
Method 2: Form Control checkbox (any version)
Show the Developer tab first if you don’t see it: add the Developer tab.
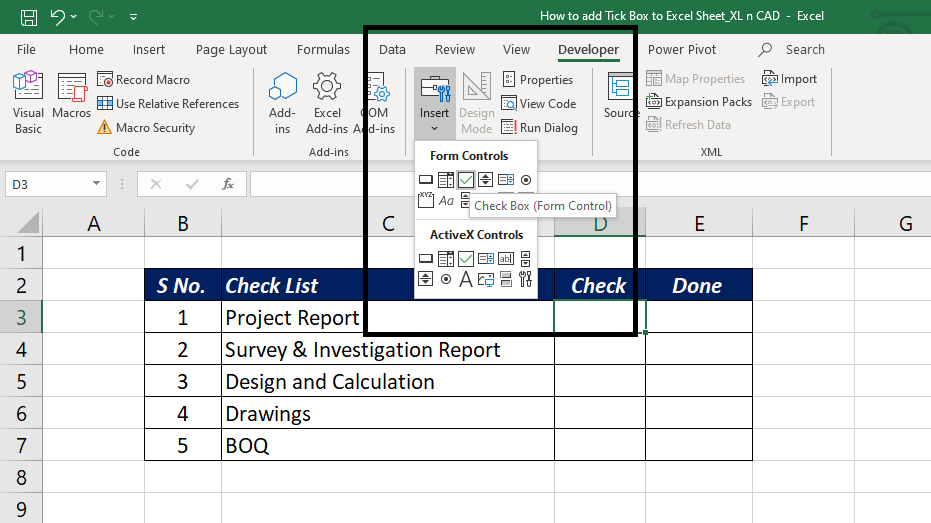
- Go to Developer → Insert → Check Box (Form Control).
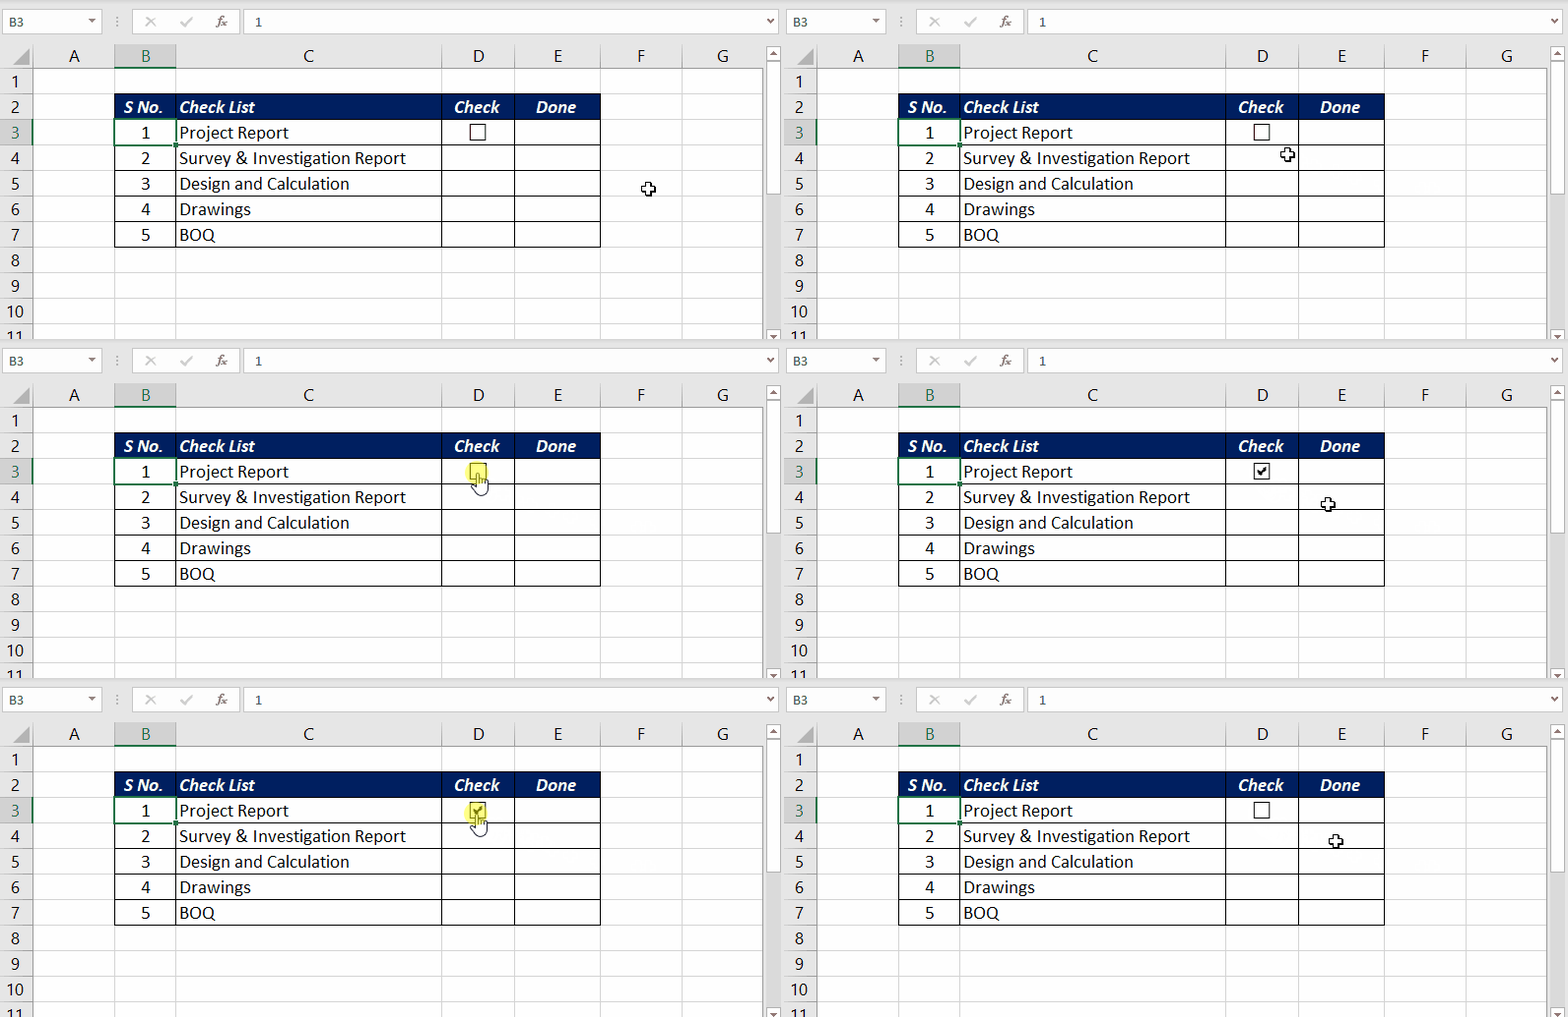
- Click on the sheet to place it. Right-click → Edit Text to change or delete the caption.
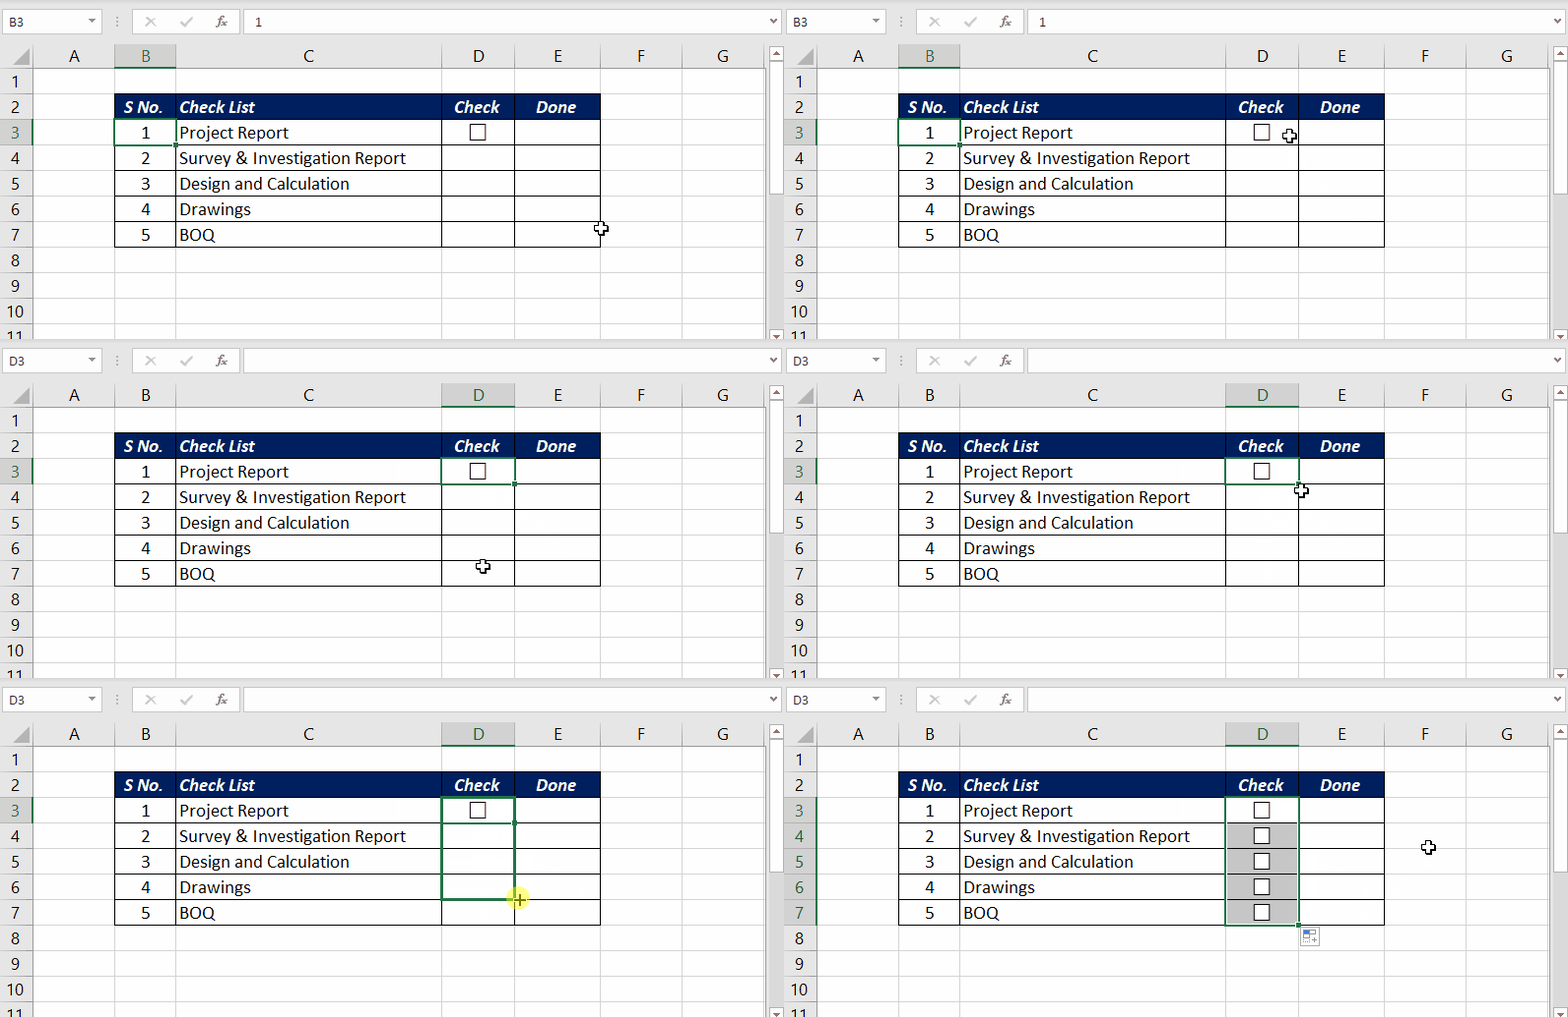
- Drag the fill handle to copy it down.
Link each box to a cell
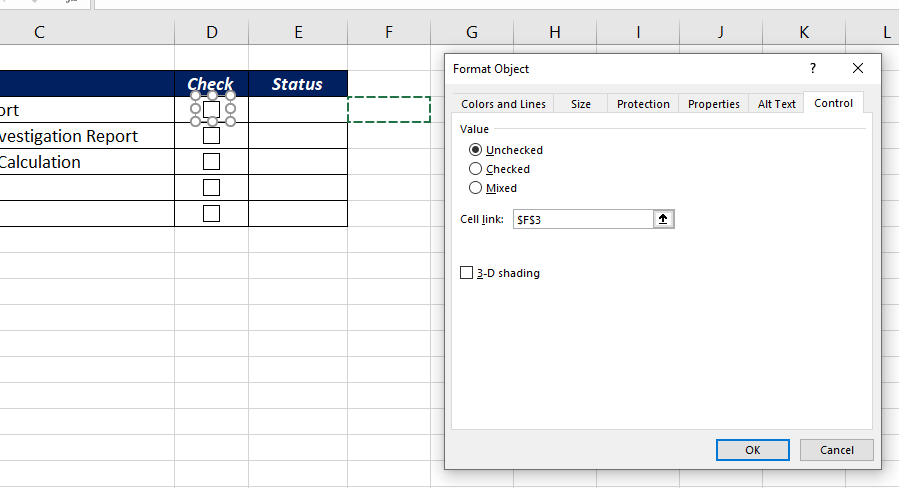
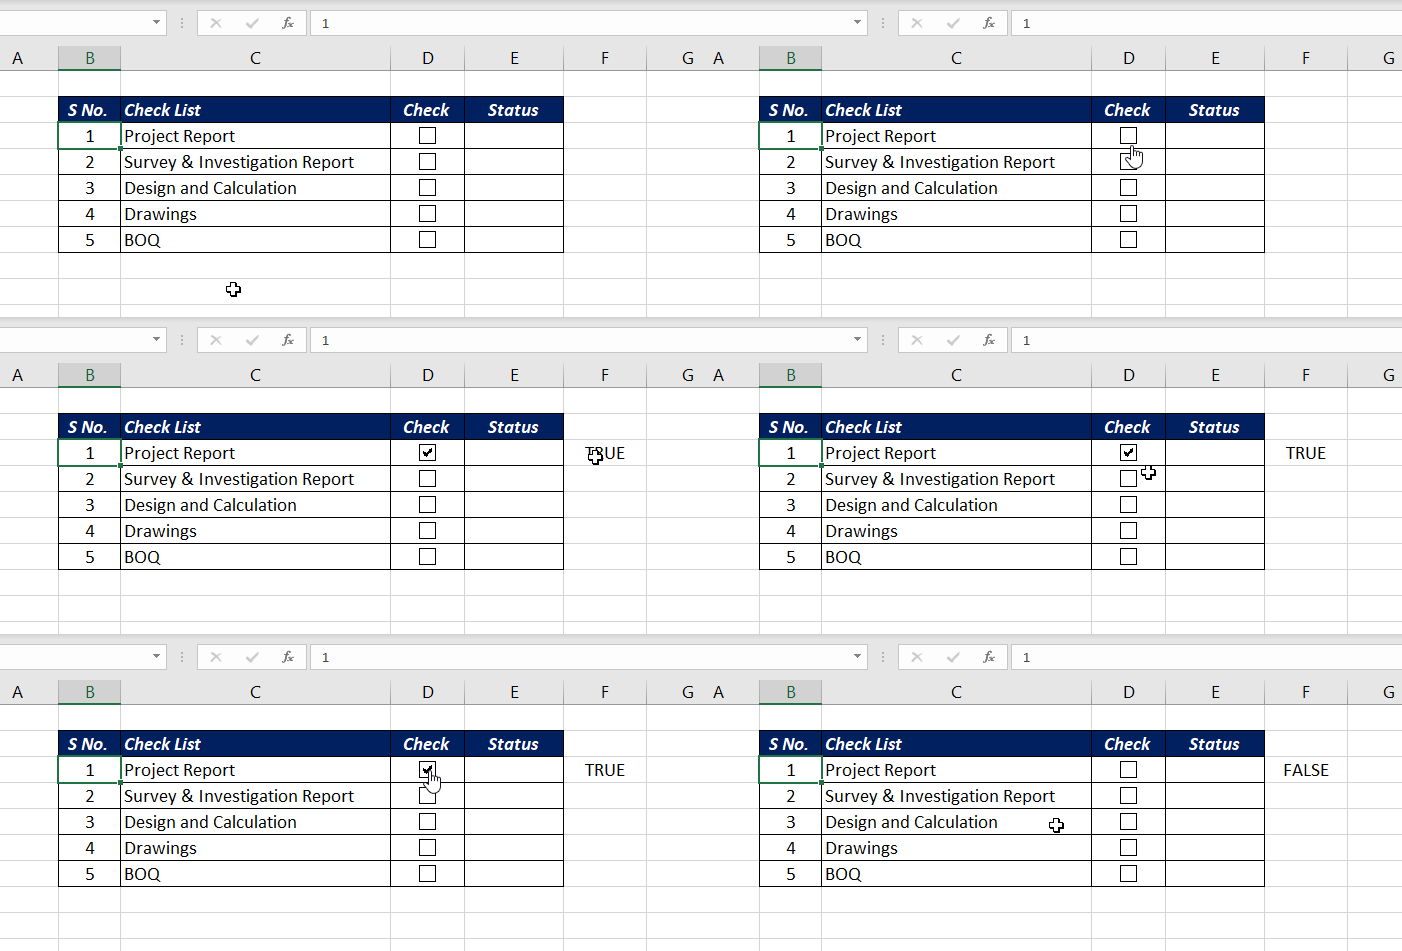
Right-click the checkbox → Format Control → Control tab → set Cell link (such as F3). The cell shows TRUE or FALSE as you tick and untick. Copied boxes keep the same link, so set each one.
Build a checklist
| To | Formula (box in column F) |
|---|---|
| Show a status | =IF(F3,"Done","Pending") |
| Count completed tasks | =COUNTIF(F3:F7,TRUE) |
| Percent complete | =COUNTIF(F3:F7,TRUE)/ROWS(F3:F7) |
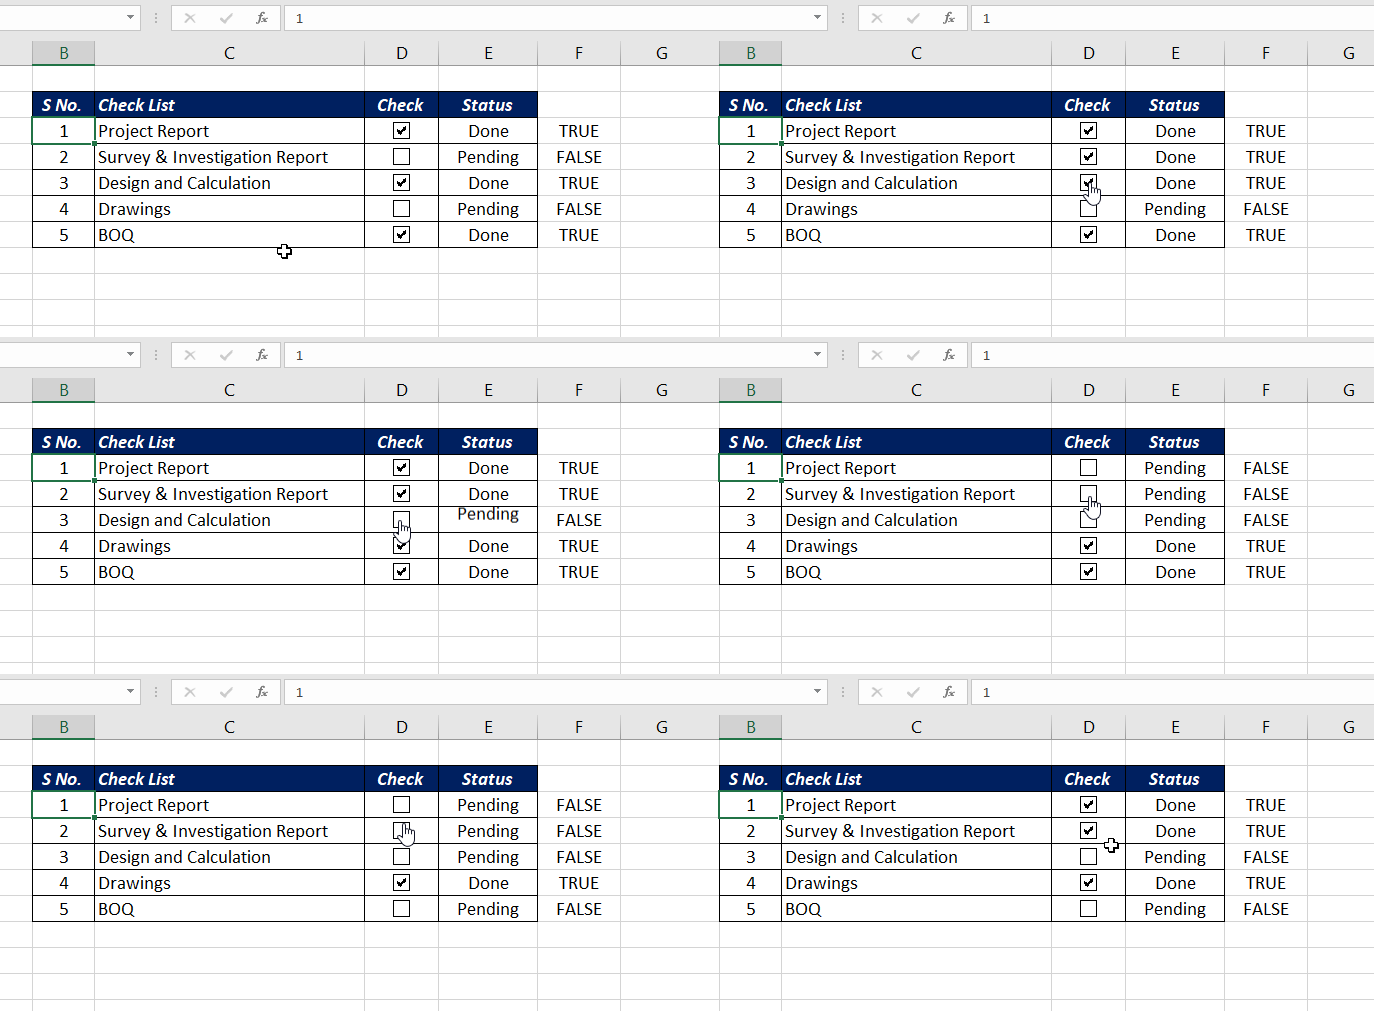
For colour, select the status cells → Conditional Formatting → New Rule → Use a formula: =E3="Done" with a green fill.