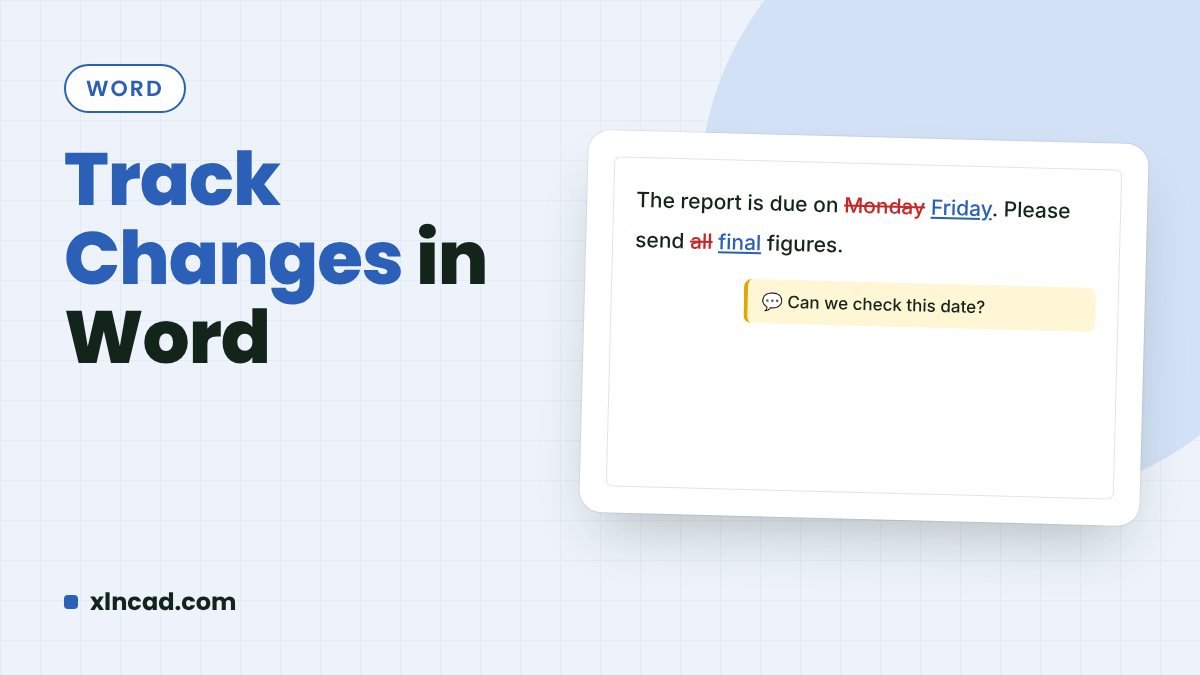
Track Changes records every edit in a Word document, showing who changed what. Turn it on with Ctrl + Shift + E, send the file for review, then accept or reject each change.
Turn on Track Changes
Go to Review › Track Changes, or press Ctrl + Shift + E. From now on, added text is underlined, deleted text is struck through, and a line in the margin marks changed lines.
Add comments
Select text and choose Review › New Comment, or press Ctrl + Alt + M. Others can reply to or resolve the comment.
Choose what you see
| Display for Review | Shows |
|---|---|
| Simple Markup | The edited text with a red line where changes are |
| All Markup | Every insertion, deletion and comment |
| No Markup | How the document looks if every change is accepted |
| Original | The document before any change |
Accept or reject changes
- Click at the start of the document.
- Click Review › Next to go to the first change.
- Click Accept or Reject. Word moves to the next change.
- To finish quickly, use Accept › Accept All Changes or Reject › Reject All Changes.
Tip: Before sending the final version, check there are no changes or comments left: File › Info › Check for Issues › Inspect Document.
Compare two versions
If someone edited without Track Changes, use Review › Compare › Compare. Pick the original and the revised file; Word shows the differences as tracked changes.
FAQ
How do I stop others turning Track Changes off?
Choose Review › Track Changes › Lock Tracking and set a password.
Why do changes show a different name?
Word uses the name in File › Options › General › User name.