This blog post is about 4 different methods to import Text files into an Excel Worksheet.
Table of Contents
Open dialog
To open a Text file stored in a specific location of your computer,
go to the File tab of the Excel Ribbon > Open > Browse
Open dialog will be activated. Use this dialog to locate the text file.
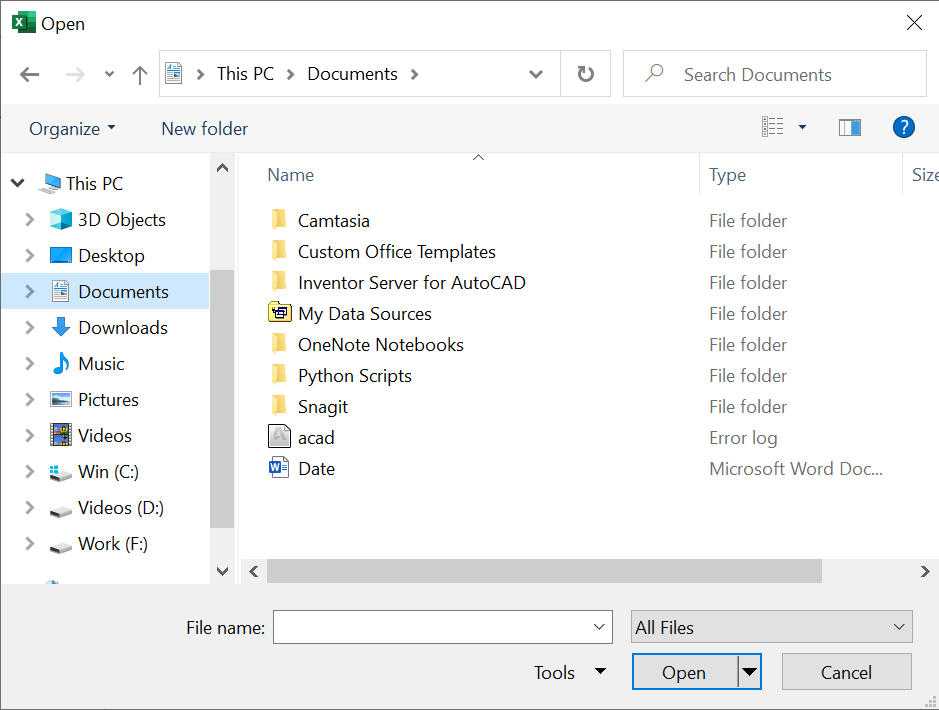
Select All Files from the drop-down menu for File types. Select the text file to import and Click on Open.

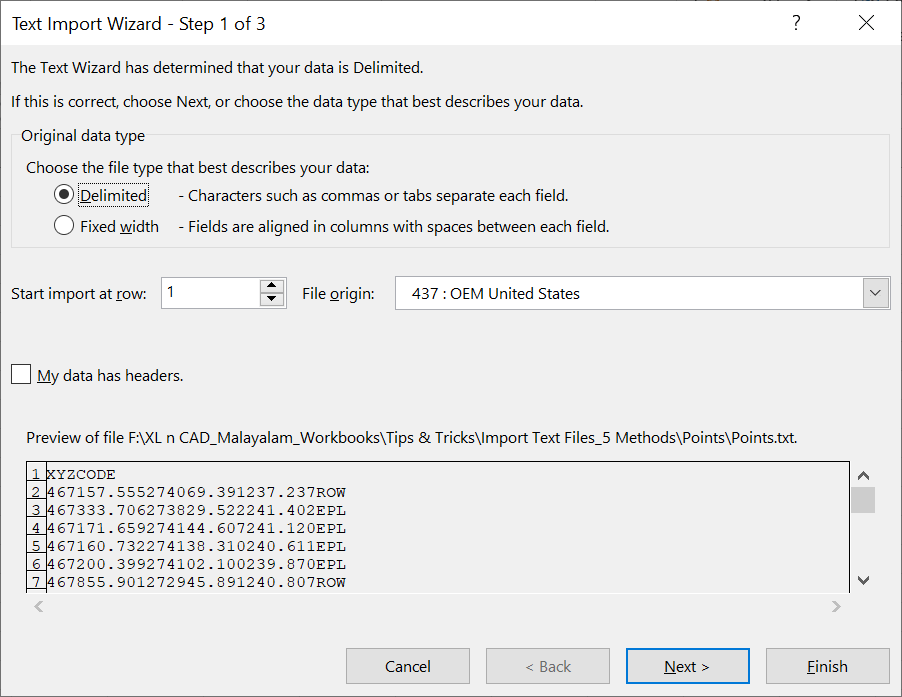
Text Import Wizard of the Text to Columns feature in Excel will be activated. This feature will enable us to split the data on the basis of ‘Delimiters’ or ‘Width’.
The text file which I want to import contains data that are separated by ‘Tabs’. So, I will go with Delimited.
Click on Next >
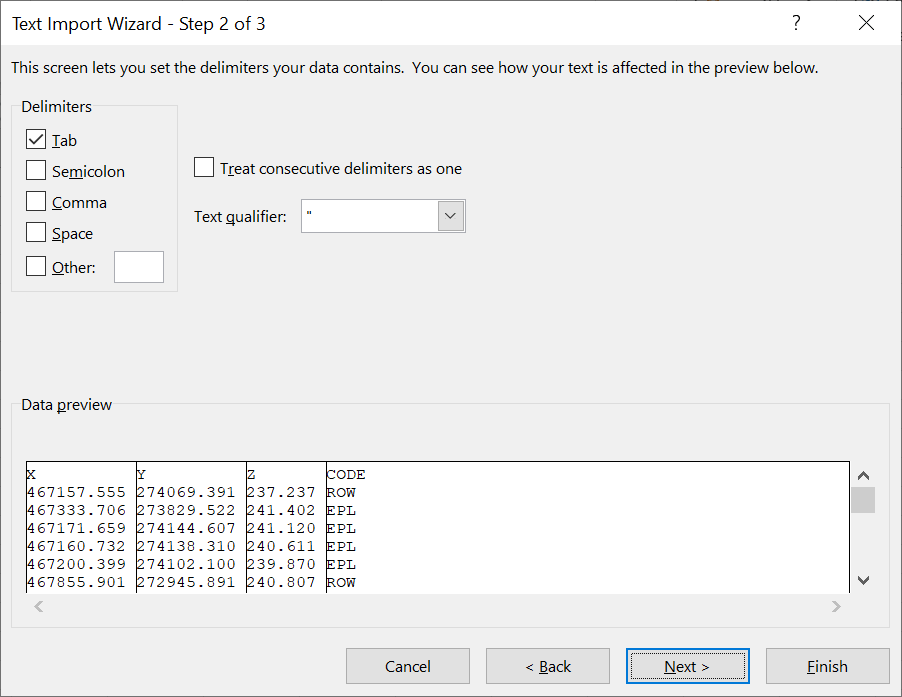
Excel has automatically detected that ‘Tab’ is the delimiter in the data which we are trying to import. We can also specify more delimiters using this dialog.
The preview of the output will be displayed under the heading called Data preview.
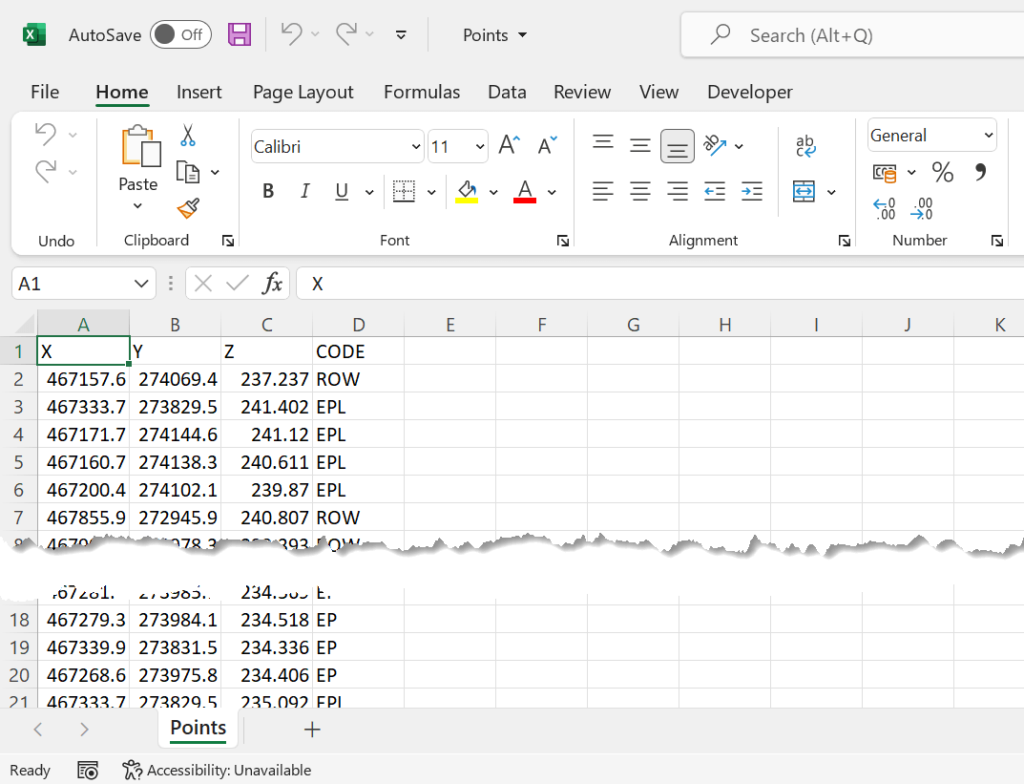
Click on Finish and the data will be imported into the Excel worksheet.
Drag and Drop
This is the easiest one among the methods explained here.
You can just drag and drop a ‘Text file’ or a ‘CSV file’ into Excel, to view it in Excel.
While using this method, we won’t have much control over the imported data. But in the following 2 methods, we can decide where to place the data.
Power Query to import Text files
Power Query in Excel can be used to import data from multiple sources, both online and offline.
To import a text file into Excel using Power Query,
go to the Data tab of the Excel ribbon > Get Data > From File > From Text/CSV

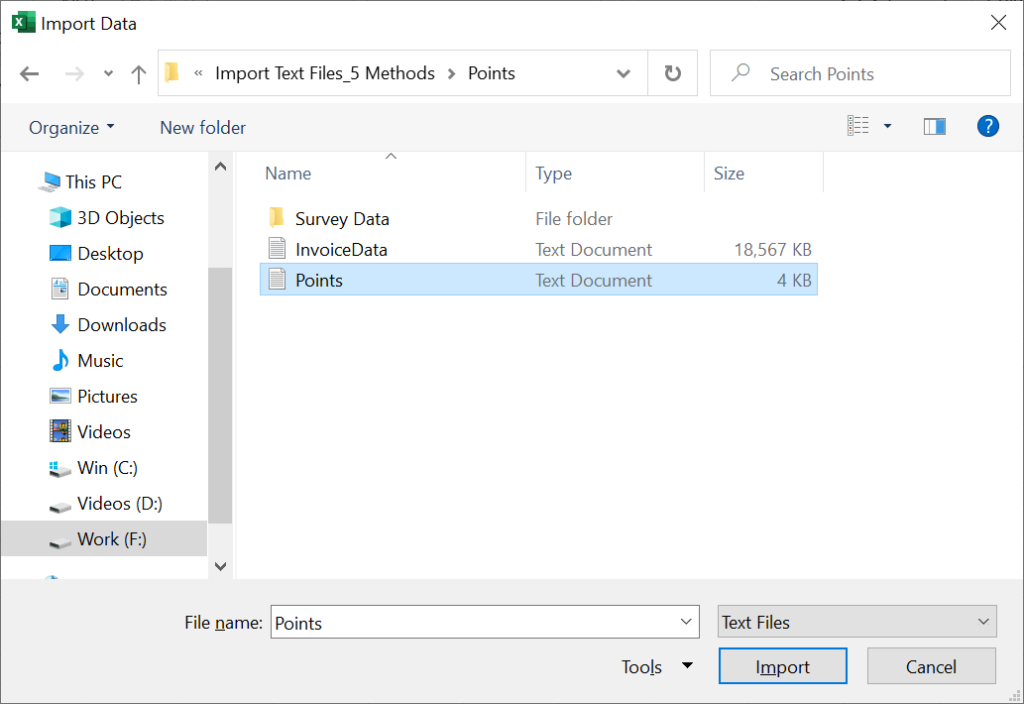
Import Data dialog will be activated. Select the text file to import and click on Import.
A dialog with the preview of the data will pop up.
At the lower end of this dialog, there will be 3 buttons ‘Load’, ‘Transform’ and ‘Cancel’.
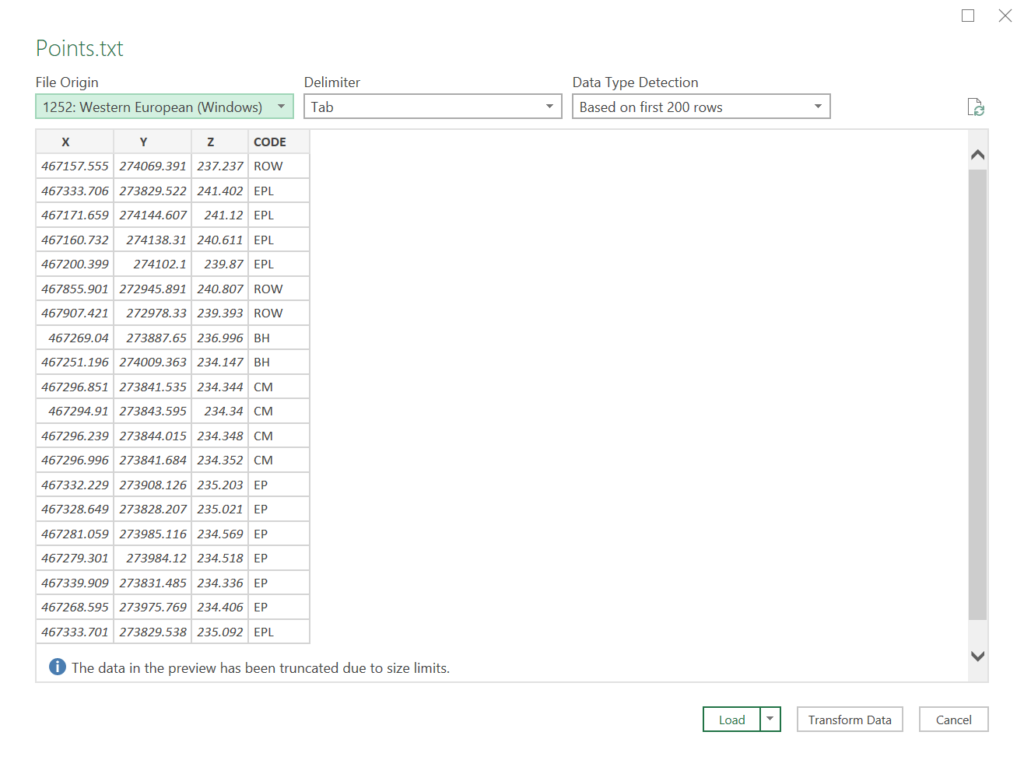
- Cancel – To cancel the import process.
- Transform – If the data requires any kind of cleaning, go for Transform
- Load – To load the data into a new Excel Worksheet as it is.
Click on Load and the data will be loaded into a new Worksheet.
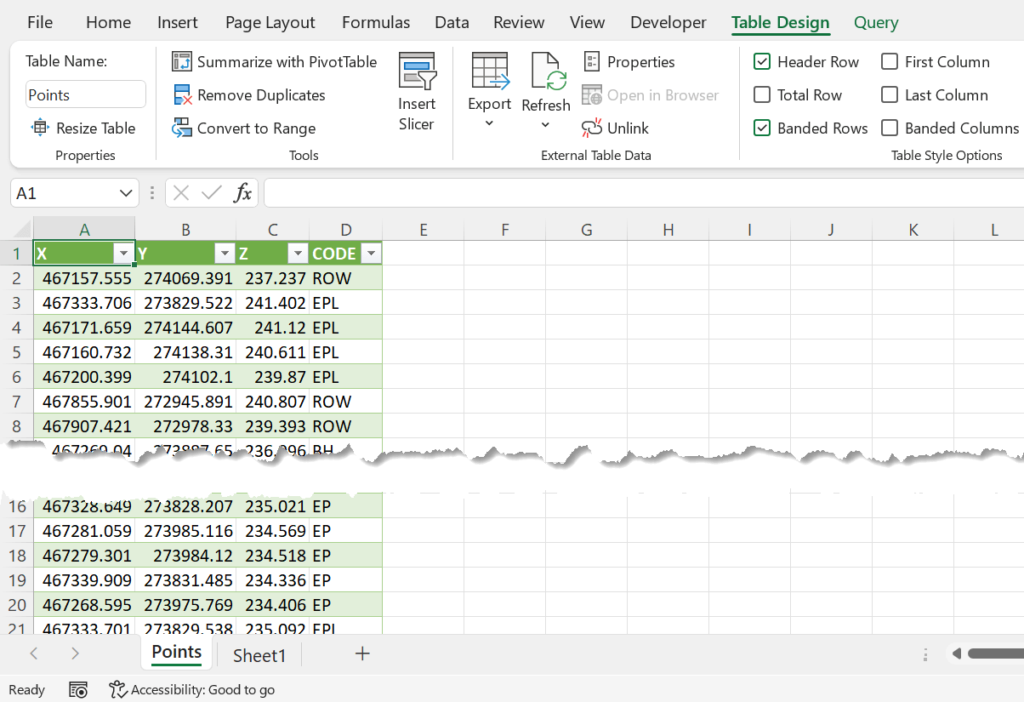
Unlike other methods, the method using Power Query is dynamic. As long as we maintain the connection between the source data and the Worksheet, changes made in the source data (text file) will reflect in the Worksheet.
VBA to import Text files
The following code when executed, will import the Text file called ‘Points’ from the Folder called ‘Survey Data’ in the F: drive of the computer.
Sub ImportTextFile()
Dim Temp As String
Open "F:\Survey Data\Points.txt" For Input As 1
Range("H3").Select
Do Until EOF(1)
Input #1, Temp
ActiveCell.Value = Temp
ActiveCell.Offset(1, 0).Select
Loop
Close (1)
End Sub
Explanation of the Code
Sub ImportTextFile()
‘ImportTextFile’ is the name of the Macro (Sub Procedure).
Dim Temp As String
A variable called Temp is declared as String
Open "F:\Survey Data\Points.txt" For Input As 1
The text file called Points in the folder called Survey Data is opened for reading. File Number assigned to the file is 1.
Range("H3").Select
This statement is to select the cell H3 of the active Worksheet.
Do Until EOF(1)
A Do Until Loop is introduced which will execute until the End of File number 1.
Input #1, Temp
First line from file number 1 will be stored in the variable called Temp.
ActiveCell.Value = Temp
Whatever data stored in the variable Temp will be then sent to the Activecell. Right now, Active Cell is H3.
ActiveCell.Offset(1, 0).Select
This statement is to select the cell just below the Active Cell, H3. After executing this statement Active Cell will be H4.
For the next iteration of the Do Until Loop, Active Cell will be H5.
Loop
‘Loop’ will Close the Do Until Loop
Close (1)
Close file number 1
End Sub
End of Macro (Sub Procedure)