Following are 3 different methods to copy a Table from Excel to Word.
Table of Contents
Simple Copy and Paste
To copy data from an Excel Worksheet to a Word Document,
select the cells containing data > right-click > Copy
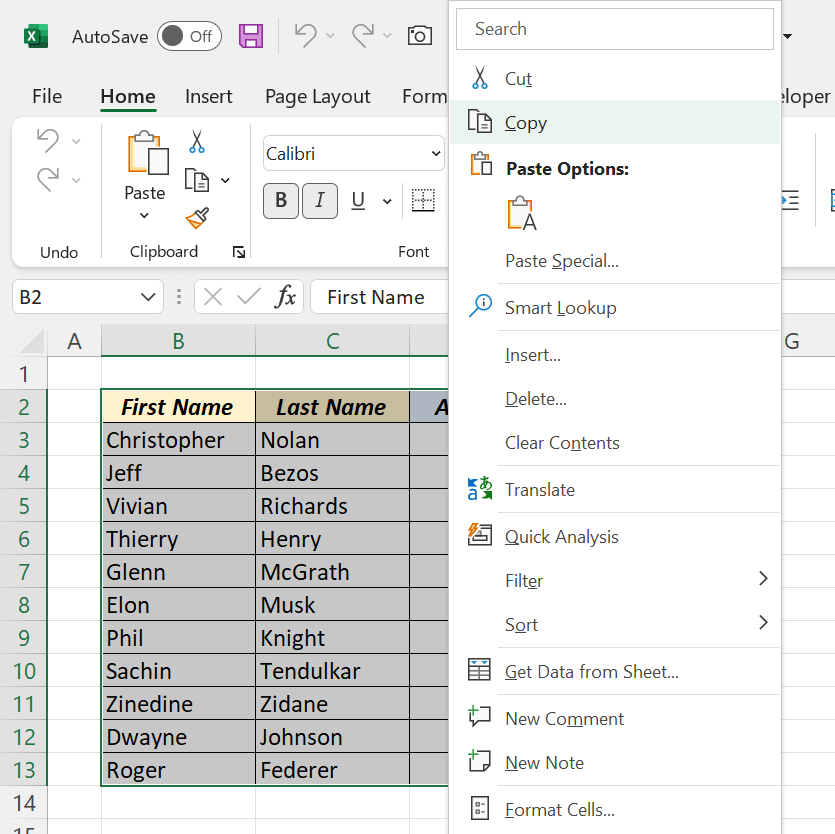
go to the Word Document > right-click > select the first option (keep source formatting) listed under Paste Options:

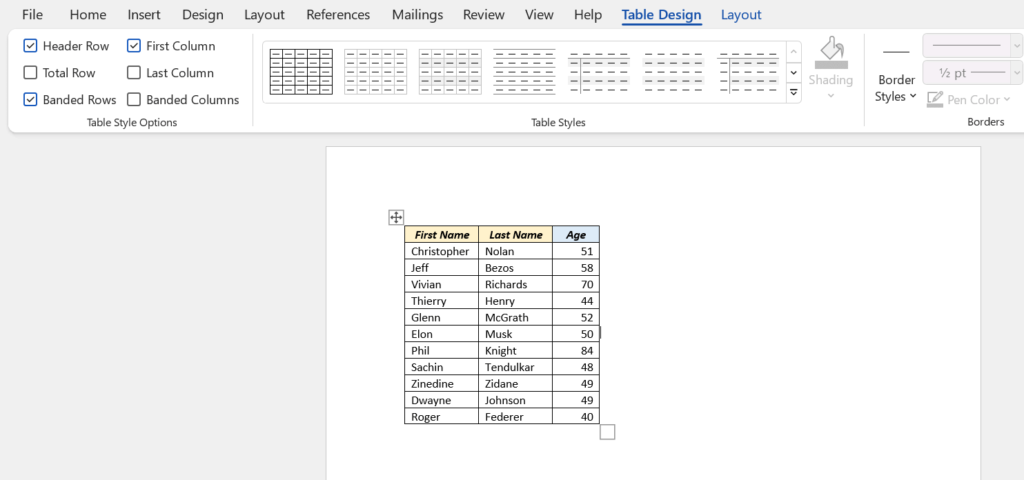
The data is copied into Word as an official Word Table.
When you select this Table, the contextual tabs ‘Table Design’ and ‘Layout’ will appear on the Word Ribbon.
We can also use the Keyboard shortcuts Ctrl + C to Copy and Ctrl + V to Paste data.
Drag and Drop
A Table containing data can be copied from Excel to Word using the Drag and Drop method.
Select the cells containing data > click on the border of the selected data > holding the Ctrl key, drag the selection into a Word Document and release the mouse button.
Adding the Table to Word as an Object
As we don’t have much control over this method, I don’t use this one often. Anyway, it seems to work and can be useful in some peculiar situations.
To insert a Table from Excel to Word as on object,
go to Insert tab in the Word ribbon > click on the split button called Object > select Object…

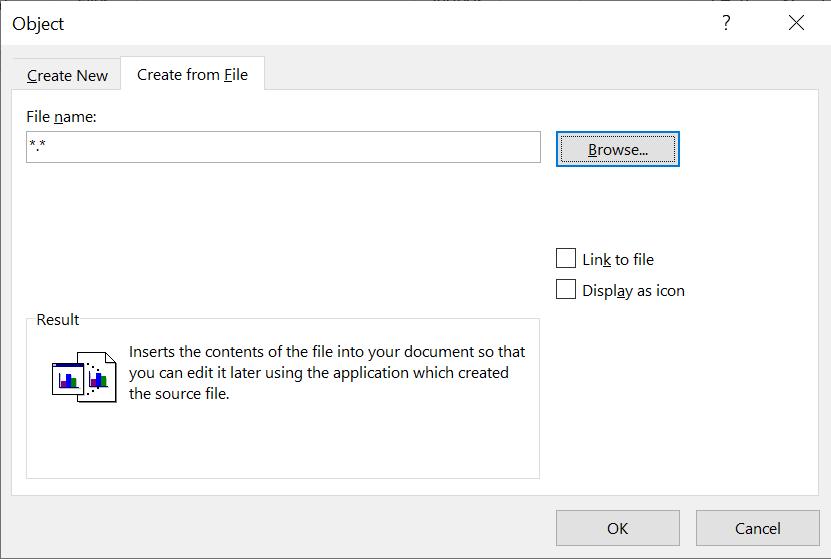
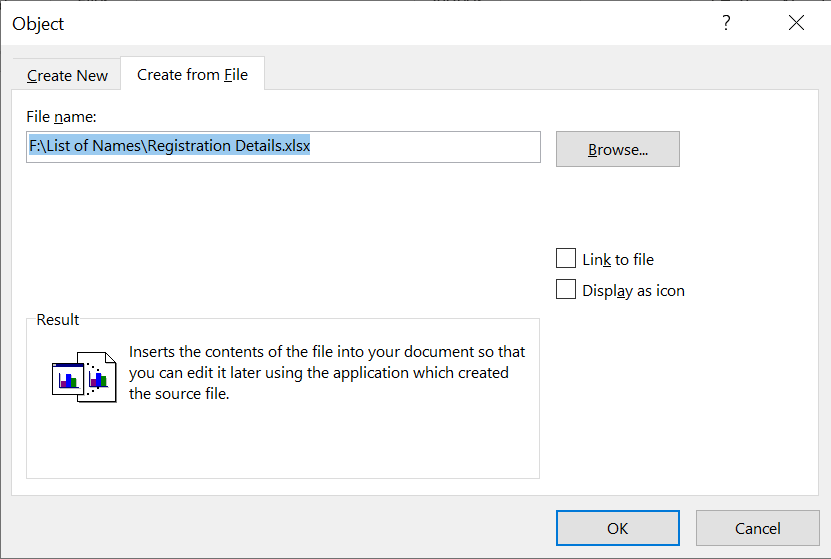
A dialog called Object will be activated.
Go to the Create from File tab and click on Browse…
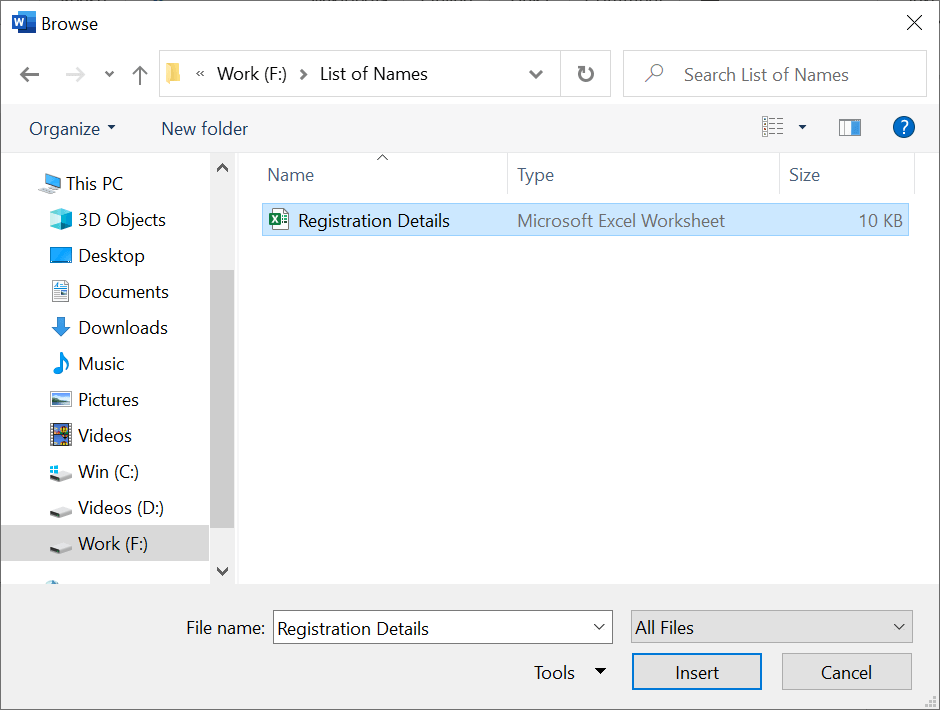
Another dialog called Browse will pop up. Use this dialog to select the Excel Workbook containing the Table and click on Insert.
Click on OK in the Object dialog.
The Table in the Excel Worksheet will be inserted into the Word document as an Object. Right-click on the Object (Table) to get the options for opening and editing the source data.
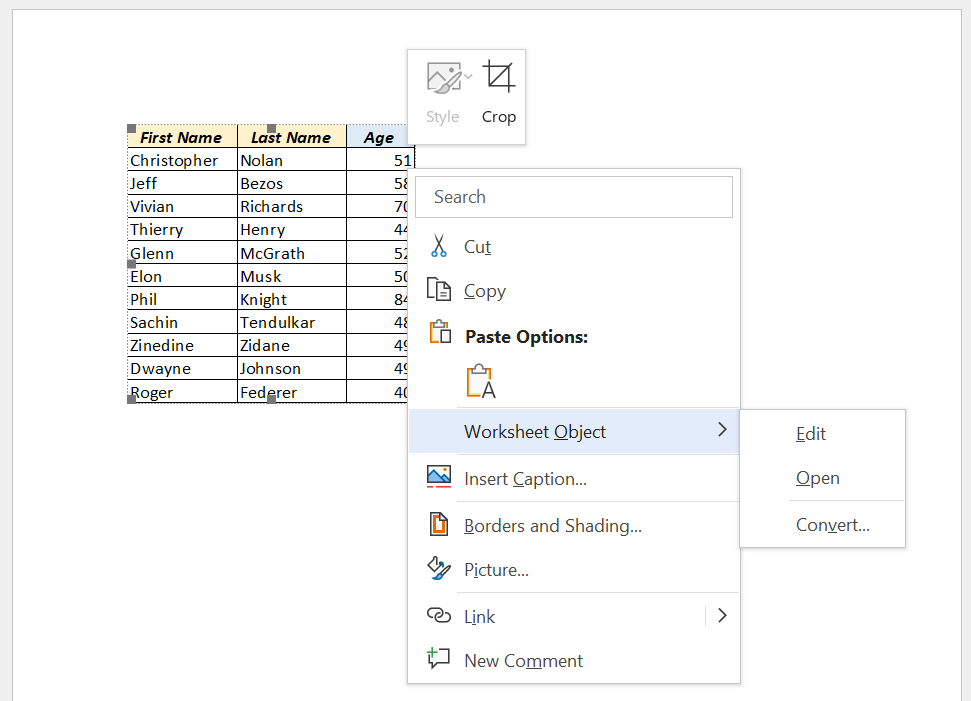
Note: If the Excel Workbook has multiple Worksheets, Word will select the data from the last Worksheet.