There are 3 different types of protection in Excel.
Protecting the Workbook, Protecting the Worksheet and Protecting the structure of the Workbook
Table of Contents
Protect an Excel File
We can protect the content of an Excel Workbook by adding a Password to it.
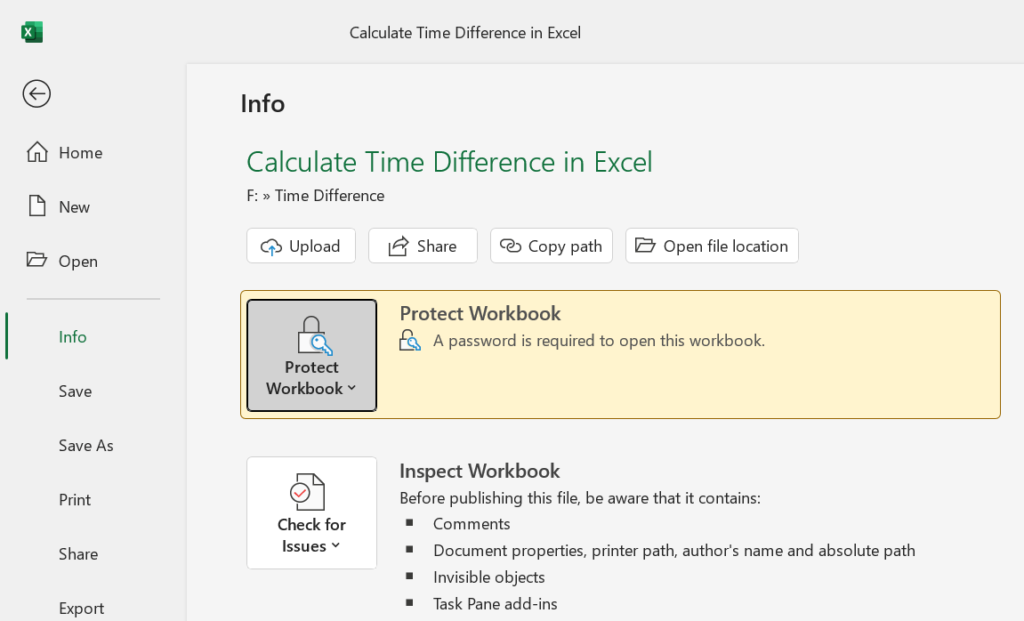
Go to the File tab in the Excel ribbon > Info > click on split button called Protect Workbook to see the different options for protecting data.
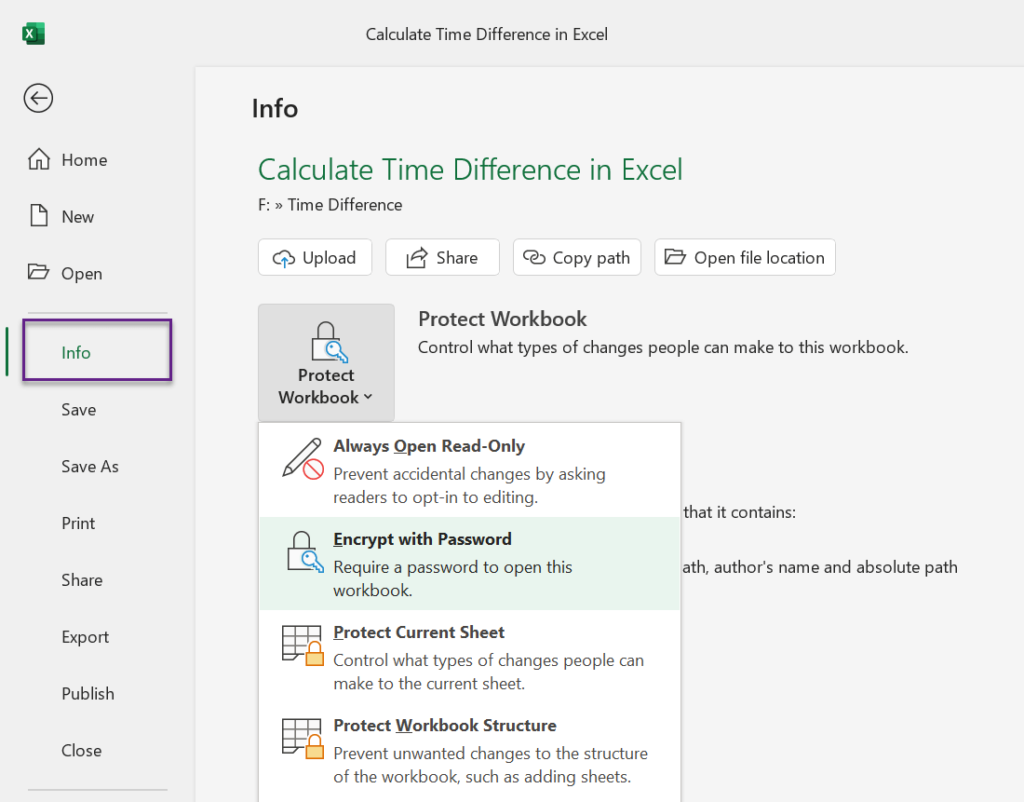
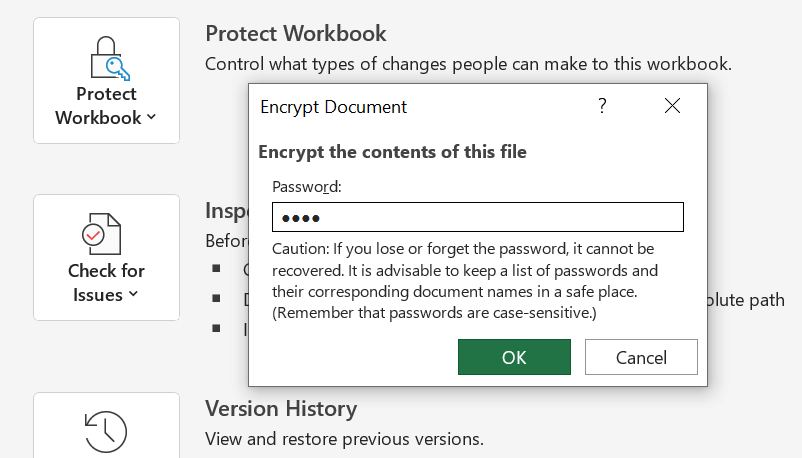
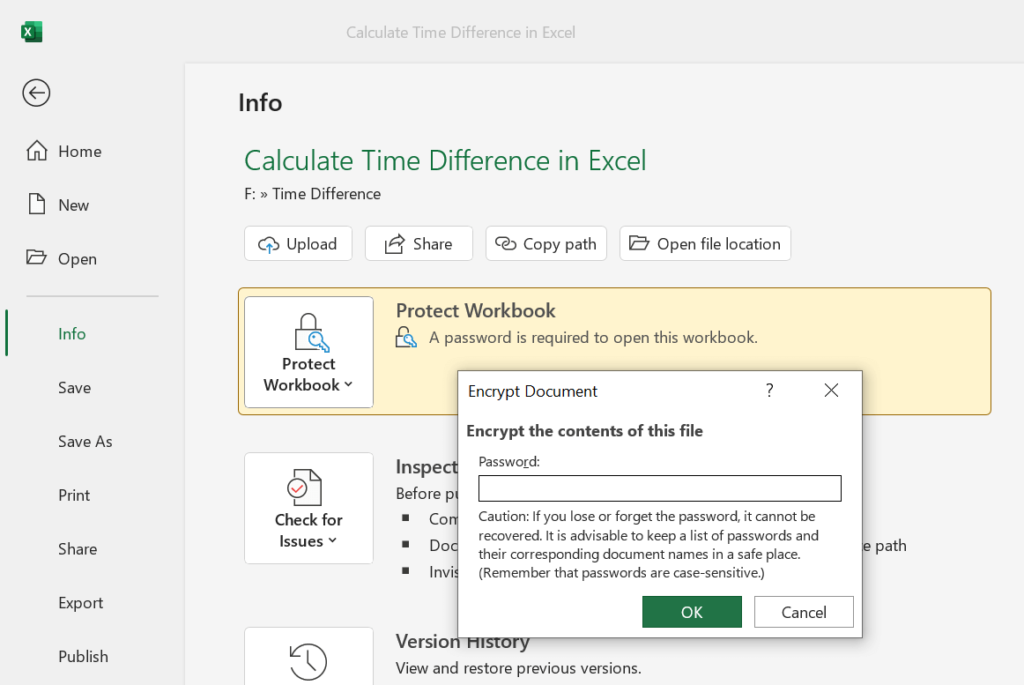
Click on Encrypt with Password to activate the Encrypt Document dialog.
Type in the Password of your choice and click on OK.
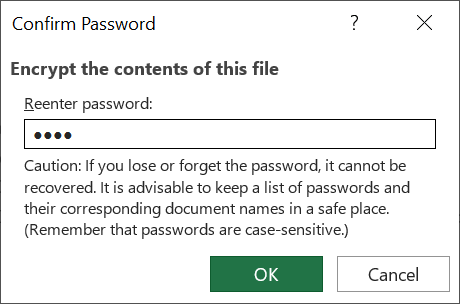
Reenter the Password to confirm it.
From the next time onwards, this Workbook cannot be opened without our password.
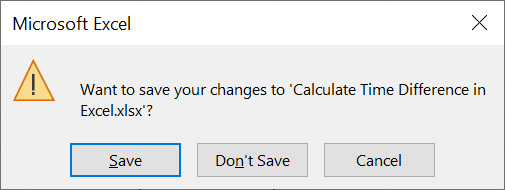
Note that the protection won’t be activated unless we save the file. So remember to save the file before closing it.
The next time when we try to open the Workbook, we will be prompted for the Password.
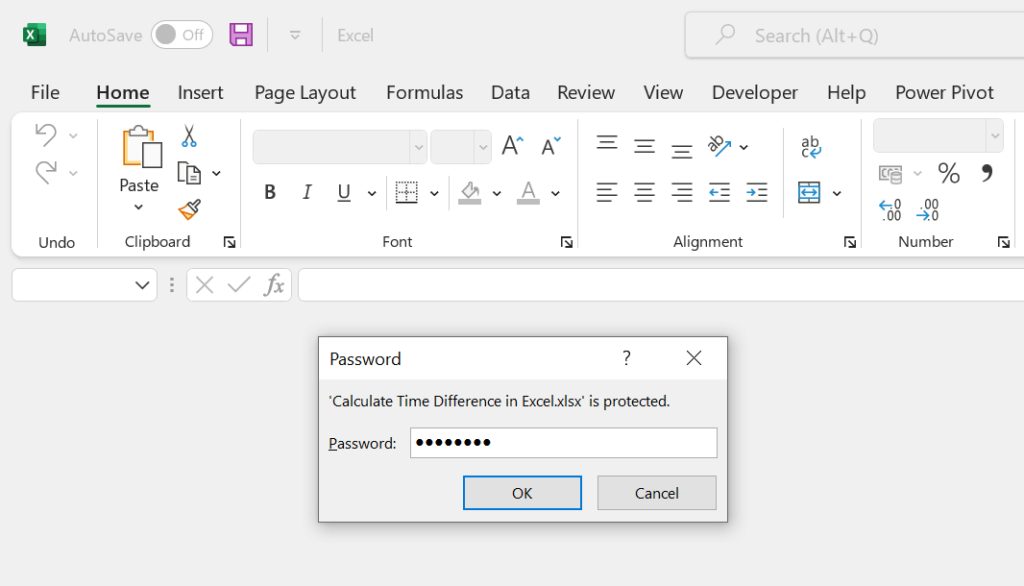
If we enter a wrong Password, we will get a warning message for using the incorrect Password.

Type in the correct Password to open the file.
To remove the Password, click on the Encrypt with Password option listed under the Protect Workbook button.

Delete the current Password, in the Encrypt Document dialog and click on OK.
The password will be removed from the Workbook. Remember to save the file while or before closing.
Protect an Excel Worksheet
We can restrict the users from copying or modifying the content in a Worksheet by adding a Password to it.
To protect the worksheet with a Password,
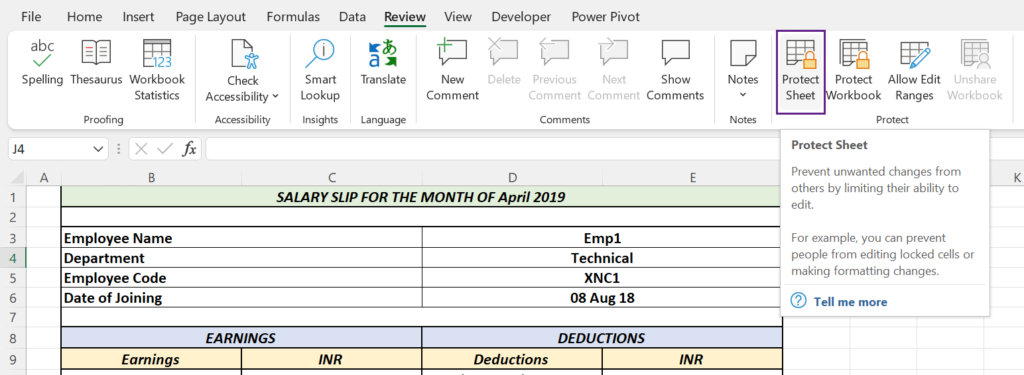
go to the Review of the Excel ribbon > click on Protect Sheet
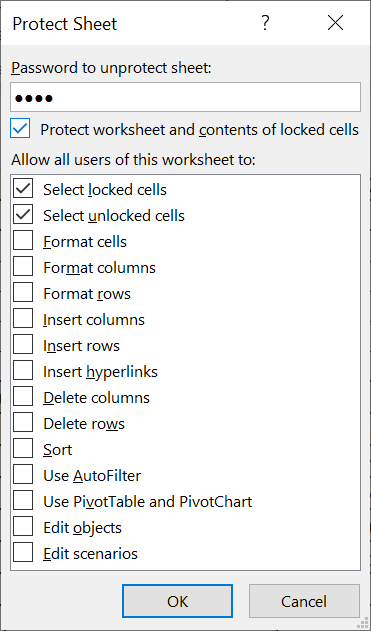
A dialog called Protect Sheet will be activated. By default, first two options in this dialog will be checked. Select or deselect the required options using the corresponding Checkboxes.
If you want to restrict the users from copying the content in the worksheet, unmark the checkbox against ‘Select locked cells’
Type in a Password and click OK.
You will be prompted to reenter the password.
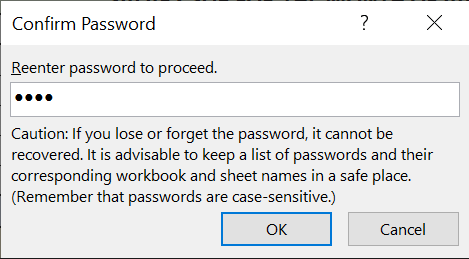
Once you confirm the Password, the Protect Sheet option in the Review tab will be replaced with Unprotect Sheet.

And whenever you try to modify anything in a worksheet protected with Password, Excel will display a warning message like the following.

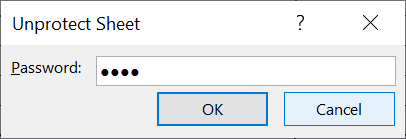
To remove the Password, click on Unprotect Sheet > type in the Password and click on OK
Protect specific cells on a Worksheet
When we add Password to a worksheet, the protection is applicable only to the ‘Locked cells‘ on that worksheet.
By default, every cell in an Excel worksheet will be in Locked mode. But Excel provides us the option to Lock or Unlock cells of our choice.
To protect specific cells of a worksheet, first of all we need to Unlock all cells. For that,
select all cells > right-click > Format cells > in the Protection tab, unmark the checkbox against Locked.
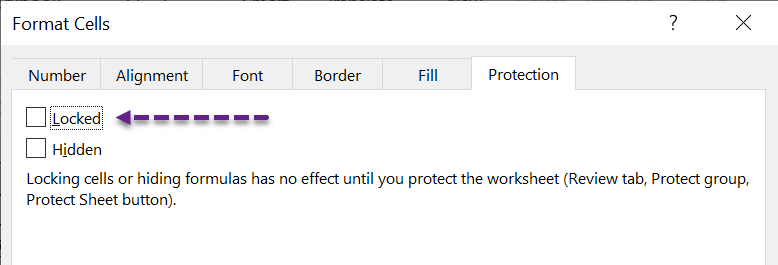
Click OK and by doing that we will unlock every cell on this worksheet.
Now that we have unlocked all cells on this worksheet, select the cells which you want to protect > right-click > Format cells > in the Protection tab, mark the checkbox against Locked.
After locking the required cells, add Password to the worksheet.
Protect Workbook Structure
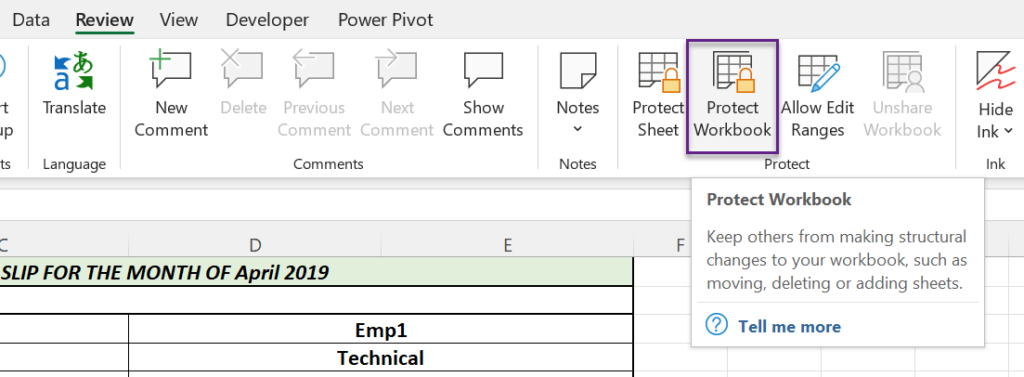
By protecting the Workbook Structure, we can restrict the users from inserting, deleting, moving, renaming, hiding and unhiding Worksheets. Activating this feature will also restrict the users from viewing hidden sheets.
To protect the Workbook Structure, go to the Review tab of the Excel ribbon > Protect Workbook
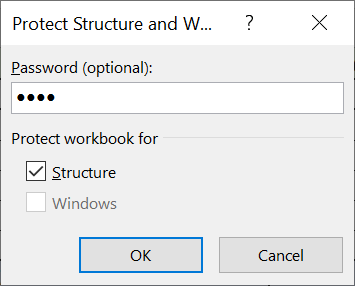
In the Protect Structure and Windows dialog, type in a Password and click on OK.
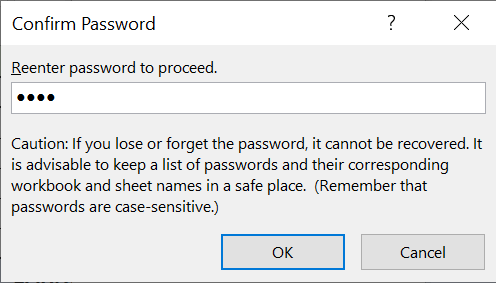
You will be prompted to reenter the password to confirm it.
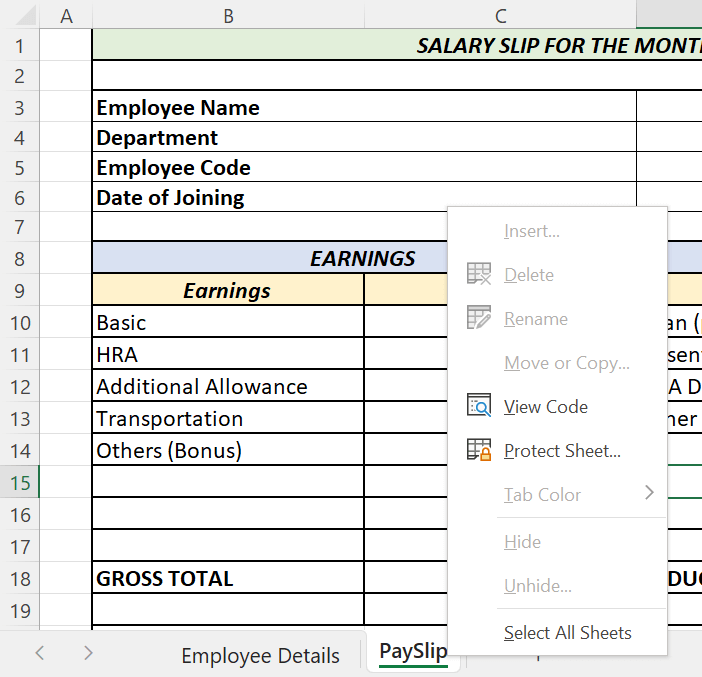
Right-click on any of the sheet tab and you will see that almost all worksheet related options are grayed out.
To remove protection,
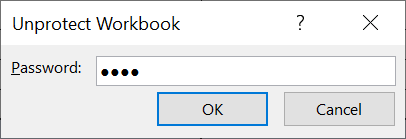
click on Protect Workbook in the Review tab > in the dialog called Unprotect Workbook, type in the Password and click on OK.